This post contains affiliate links. We may earn compensation when you click on the links at no additional cost to you.
I love Vintage Style Art!
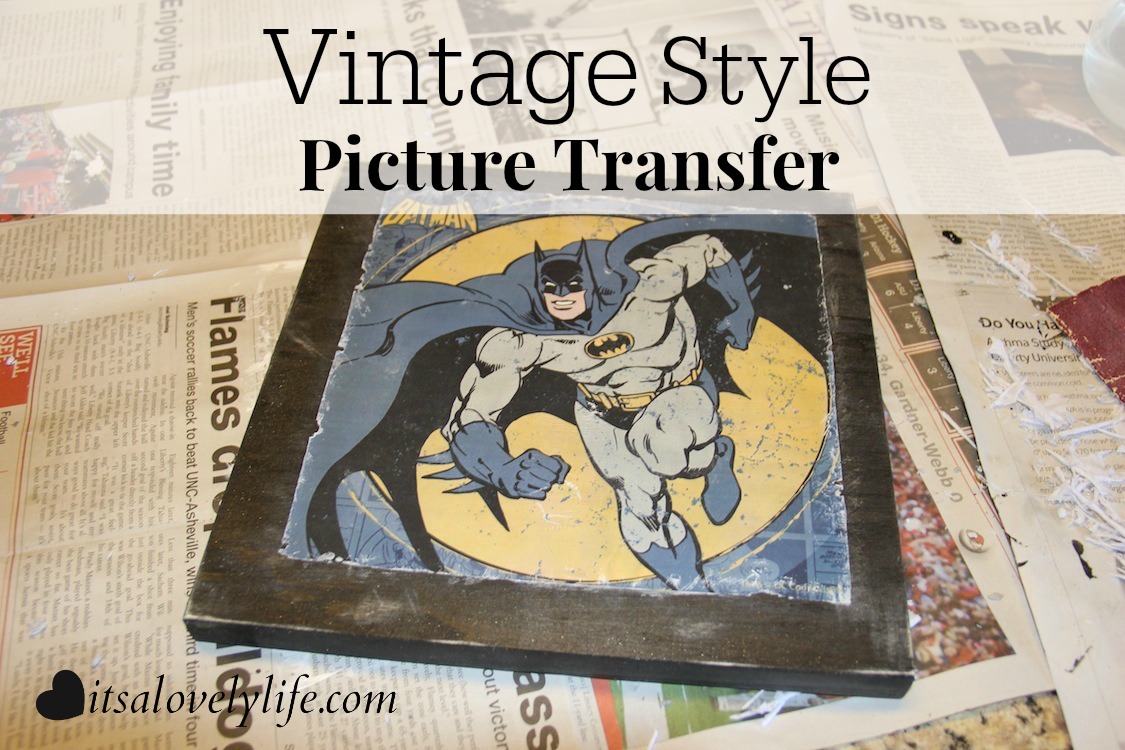
I have a son who is just days away from turning the big three! He is obsessed with superheroes, mostly Batman, in fact, I am pretty sure he believes that he IS Batman. Odds are if you have a toddler son he loves superheroes too! I wanted to make something special for his birthday that incorporated his favorite hero and went with a picture transfer of the Caped Crusader himself!

Here’s what you will need:
- Wood Canvas
- •Printed picture
- •Photo Transfer Modpodge
- •Regular Matte Modpodge
- •Foam Brush
- •Scissors
- •Sand Paper
- •Sponge
- •Water
- •Paint (optional)
STEP ONE: Find a picture to your liking online or photocopy a picture you already own.
Choose a superhero, a princess, a cartoon character, or even a photograph. If there is text on your picture be sure and print a mirror copy of it. Trim the picture to fit your wood canvas. Decide whether you want a border to show or if you want to cover all of it. If you want a border to show you may want to paint the canvas first. I decided on a border and painted mine black.
STEP 2: Modpodge
Give your picture a thick coat of photo transfer mod podge using the foam brush. You should not see your picture through the layers of mod podge.
Very carefully pick up the picture from the corners and place mod podge side down onto the canvas. Use your fingers to smooth out any bumps or wrinkles. Even if you don’t see any bumps, go ahead and smooth out anyway just in case.
STEP THREE: WAIT!!!
This next step is arguably the hardest, you MUST wait 24 hours for it to dry!! Alright, hopefully, your patience was intact and it has been a full day and you are ready for the fun part. Get a bowl of water and dip the sponge in it until it is fully wet. Dab the picture on your canvas all over. You will see the picture appear.
Once the whole picture has shown through wait…
(yes, more waiting) about two minutes before moving onto the next step.
Wring out the sponge until it is mostly dry. Use the sponge and rub the picture in a circular motion. The paper will start to rub off. Use a good amount of pressure, try not to rip the actual picture, though, but since we are making this vintage style it definitely wouldn’t be the end of the world if it has a few tears.
Once all the paper is gone, it is time to do my favorite part–to distress!
The distressing gives it that vintage feel and lots of character. I ripped my edges and used the sandpaper to rough up some of my paint.
You are almost done!

There is a little more waiting ahead, but this will be the last time you have to be patient.
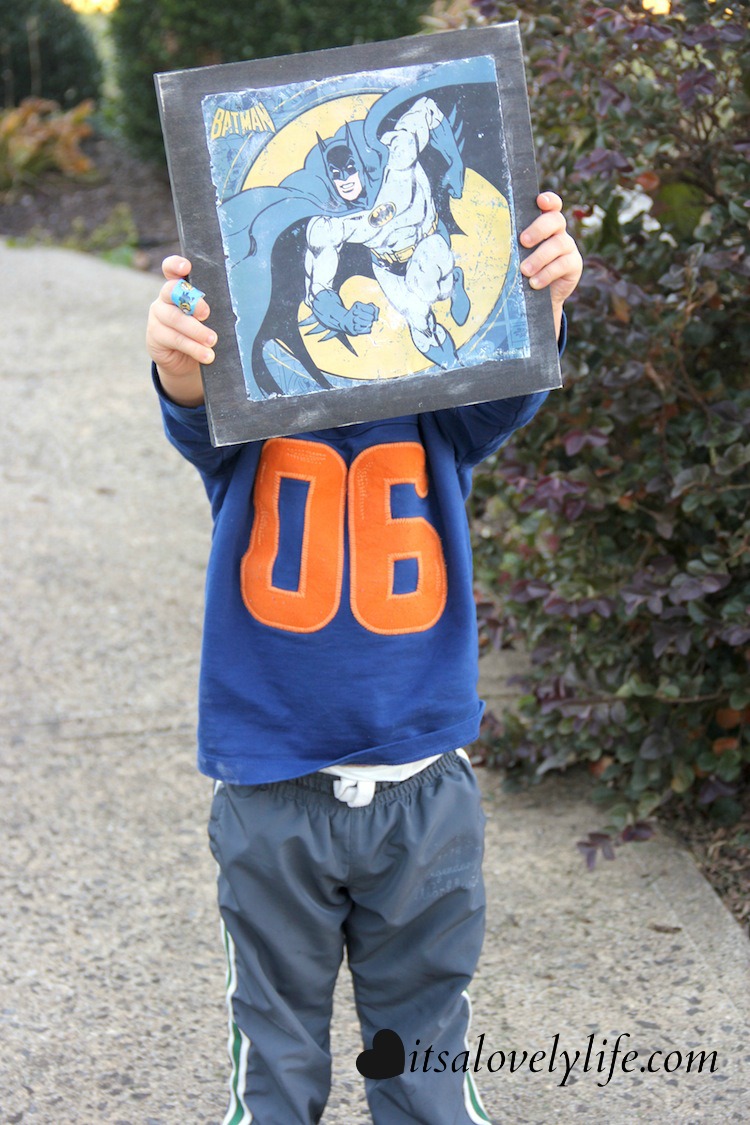
Let the picture cure for 72 hours. After this time, seal it with a coat of regular matte mod podge. Let it dry and your picture is all done. See, wasn’t all the waiting worth it? I know my son definitely thinks so!


That is incredibly cool. I totally want to try that for myself.
That turned out great. The way you distressed it really does make it look vintage.
I would have never figured out that technique!
The result is way cool. I might try it out for some gifts!
My 4 year old would love something like this! He watches a lot of older cartoons on Netflix, so I’d choose a couple of his favorites and make these vintage signs!!
That is so awesome! I am going to have to make a few of these for my basement when we turn it into a movie room!
I love how this turned out. You should definitely make more.
That turned out so cool! Thanks for the DIY, I’m definitely going to be trying this.
This is so cool! I pinned it for later; definitely want to try this!
I love Modge Podge. This looks like something I could easily make for hubs to add to his Captain America man cave out in the parn. He’s been collecting for 30 years!
Oh wow that looks fantastic – I actually thought you had brought it from a store 🙂 x
Wow this is such a good idea. I think my kids rooms need some of these! So cool.
How cool! My son used to love superheroes!
That’s really cool. I use Modge Podge for all my crafts, its the best stuff ever.
That is fantastic. I will have to giv this a try.
That is awesome! I can think of so many different gifts to make on these!
This would be great for the little boy i babysit for. He has a superhero themed room.
That’s pretty cool! The possibilities are really endless with this craft! I love it!
This is really a fun craft – pinned to give this a try. I know a few on my Christmas list that would love one of these.
This is great and there are just so many different possibilities of the pictures you can make and gift to grandparents and siblings this holiday season. Really great idea and lots of fun, I am sure.
This is so neat! I love how it turns out. It would be perfect on my son’s wall.
Love the Batman picture, this looks like such a cool little project!
These are so neat Heather! I would love to make some of these for my son’s friend for Christmas!
Love the vintage look to the Batman picture, it’s awesome!
I LOVE this idea. You can make some really fun art. My kids love super heroes – this Batman would go over great with them.
That would be really cute in my son’s room! He loves Batman!
I never would have thought to try that!! That is very impressive.
What a fun thing to do! I’m sure that’s going to get tons of compliments too!
This is such a cool craft idea! I really love the way this came out!
This is great! Now, I can’t decide if I want to make this and give it to my boys OR have them make it with me and give them as Christmas gifts or art for their room.
How cool is this!? What a fun project to make with your kids! I’ll have to make a Minecraft one for my daughter!
Very cool! Great way to make one of a kind personalized gifts. I can think of a few adults who would love a superhero gift like this too! LOL
I think I could do this. Yours turned out great!
This is really awesome! I can’t wait to try it out!
Wow, this came out really nice and it really does look vintage. I can’t wait to try this.
This is so cool I love this. I will have to try this out.
That is so cool but not sure if I would be cool enough to make my come out looking nice. I can certainly give it a try though.
I love projects like this and I happen to be re-doing my guest rooms, which could use some personalized artwork. Pinning!
I love vintage stuff! This would be fun to make and save money on vintage art!
My son loves Spider man. He would totally love a picture of him.